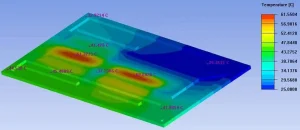
How High-Power Custom Heat Sinks Are Made: An Inside Look at the Manufacturing Process
As the Thermal Design Power (TDP) of modern processors and power electronics pushes past 1000W, traditional heat sink manufacturing methods are no longer sufficient. Achieving minimal thermal resistance requires more than just choosing the right copper or aluminum alloy; it demands extreme precision in the manufacturing process.
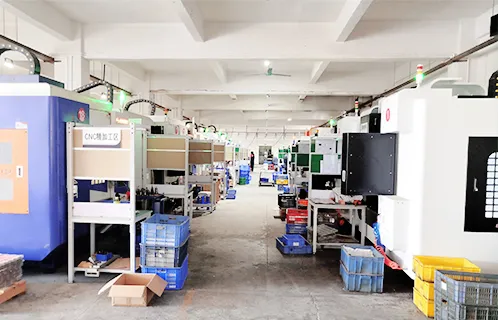
At Ecotherm, with over 22 years of dedicated thermal management experience, our production lines are optimized for high-power dissipation challenges. Here is an inside look at how we manufacture advanced thermal solutions, moving from raw materials to precision-engineered components.
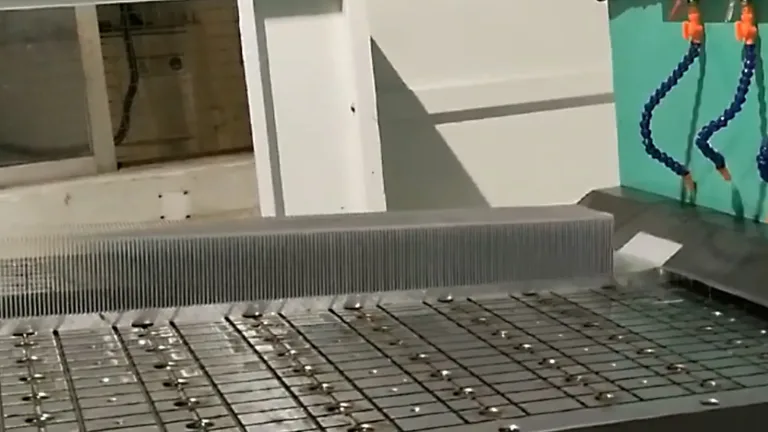
1. High-Density Fin Production: The Skiving Process (Skived Fin)
When standard extrusion cannot achieve the required fin density or aspect ratio, we turn to the skiving process. This method is critical for forcing maximum surface area into a confined footprint, widely used in server cooling and telecom equipment.
Unlike extrusion, skiving involves using a precision CNC-controlled blade to slice a solid block of copper or aluminum into thin layers, gently bending them upright to form fins.
-
Engineering Advantage: Because the fins and the base remain a single, continuous piece of metal, there is zero interfacial thermal resistance between them.
-
Ecotherm Capabilities: Our specialized skiving machines can achieve an ultra-thin fin thickness of down to 0.1mm and a fin pitch (gap) as tight as 0.2mm. This allows us to create heat sinks with exceptionally high aspect ratios that are impossible to extrude, maximizing the heat dissipation area for forced convection environments.
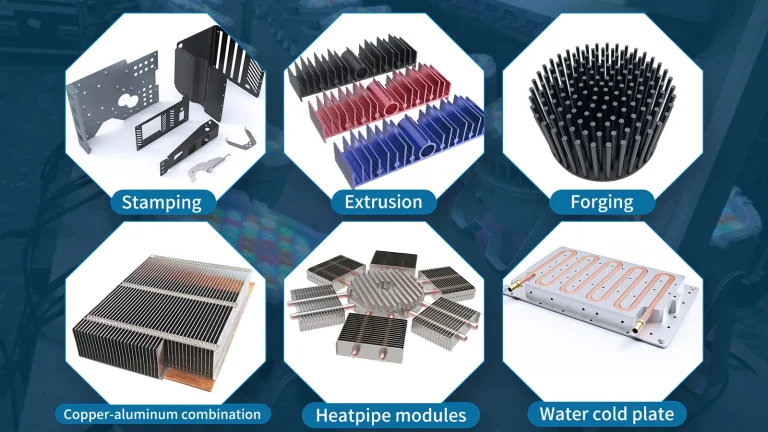
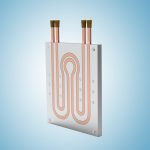
2. Managing Extreme TDP: Liquid Cold Plate Manufacturing
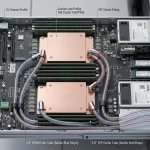
For heat loads exceeding the limits of air cooling (typically >500W to 1000W+), liquid cold plates are the ultimate solution. Manufacturing a reliable liquid cold plate involves a complex sequence of precision machining and advanced joining technologies.
-
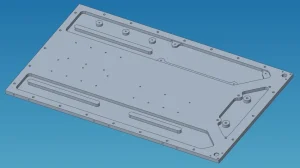
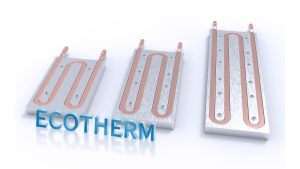
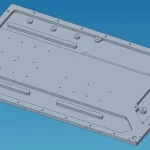
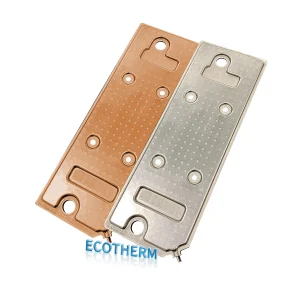
Micro-Channel CNC Routing: The process begins with solid metal plates (typically Aluminum 6061 or Copper). Using high-speed multi-axis CNC machines, we mill complex internal fluid paths or micro-channels into the base plate. The precision of these channels dictates the fluid dynamics and pressure drop of the final system.
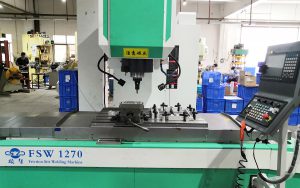
- Joining and Sealing (Vacuum Brazing & FSW): To seal the cold plate, the top cover must be joined to the channeled base. For highly demanding aerospace and data center applications, we utilize Vacuum Brazing, which creates a flux-free, incredibly strong, and clean joint. Alternatively, we use Friction Stir Welding (FSW) for large-scale, high-strength aluminum cold plates.
- Quality Assurance: Liquid cooling leaves no room for error. Every cold plate undergoes strict pressure tests and Helium leak detection to ensure 100% leak-proof reliability before leaving the factory.
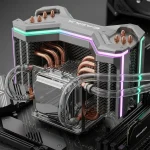
Two-Phase Cooling: Vapor Chambers (VC) and Heat Pipes
When localized hot spots threaten component stability, two-phase phase-change cooling components are integrated to spread heat rapidly.
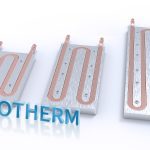
Vapor Chambers: Manufacturing a VC involves stamping a top and bottom copper shell, sintering a porous capillary wick structure (typically copper powder) onto the internal surfaces, and welding the two halves together. A precise amount of working fluid (usually deionized water) is injected under a vacuum seal. The quality of the sintered wick directly impacts the capillary pumping force and the overall anti-gravity thermal performance.
Integration: These phase-change components are rarely used alone. We typically solder heat pipes or VCs into the base of a skived fin or zipper fin assembly, combining rapid heat spreading with massive surface area convection.
4. Precision CNC Machining: The Crucial Final Step
Regardless of whether a heat sink is extruded, skived, or liquid-cooled, the base that makes contact with the heat source (the SoC, IGBT, or Laser Diode) must be flawless.
We utilize precision CNC milling to achieve strict surface flatness tolerances (often exceeding 0.002 in/in) and a surface roughness (Ra) optimized for your specific Thermal Interface Material (TIM). A perfectly flat mounting surface minimizes bond line thickness, significantly reducing contact thermal resistance.
Partner with a Proven Manufacturer
Manufacturing high-power heat sinks is a multidisciplinary engineering challenge. By keeping core processes like high-aspect-ratio skiving, micro-channel CNC machining, and vacuum brazing in-house, we control both the quality and the lead time.
If you are developing a project facing strict thermal bottlenecks, send us your CAD/STEP files. Our engineering team provides a Free DFM (Design for Manufacturing) analysis, and we support low MOQ prototyping to validate your thermal design quickly.